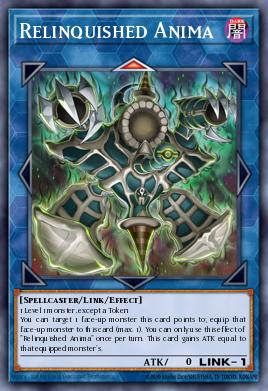
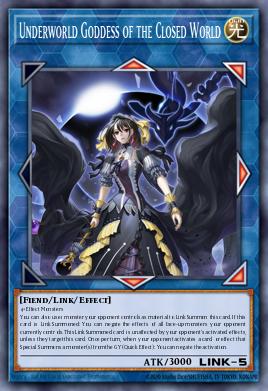
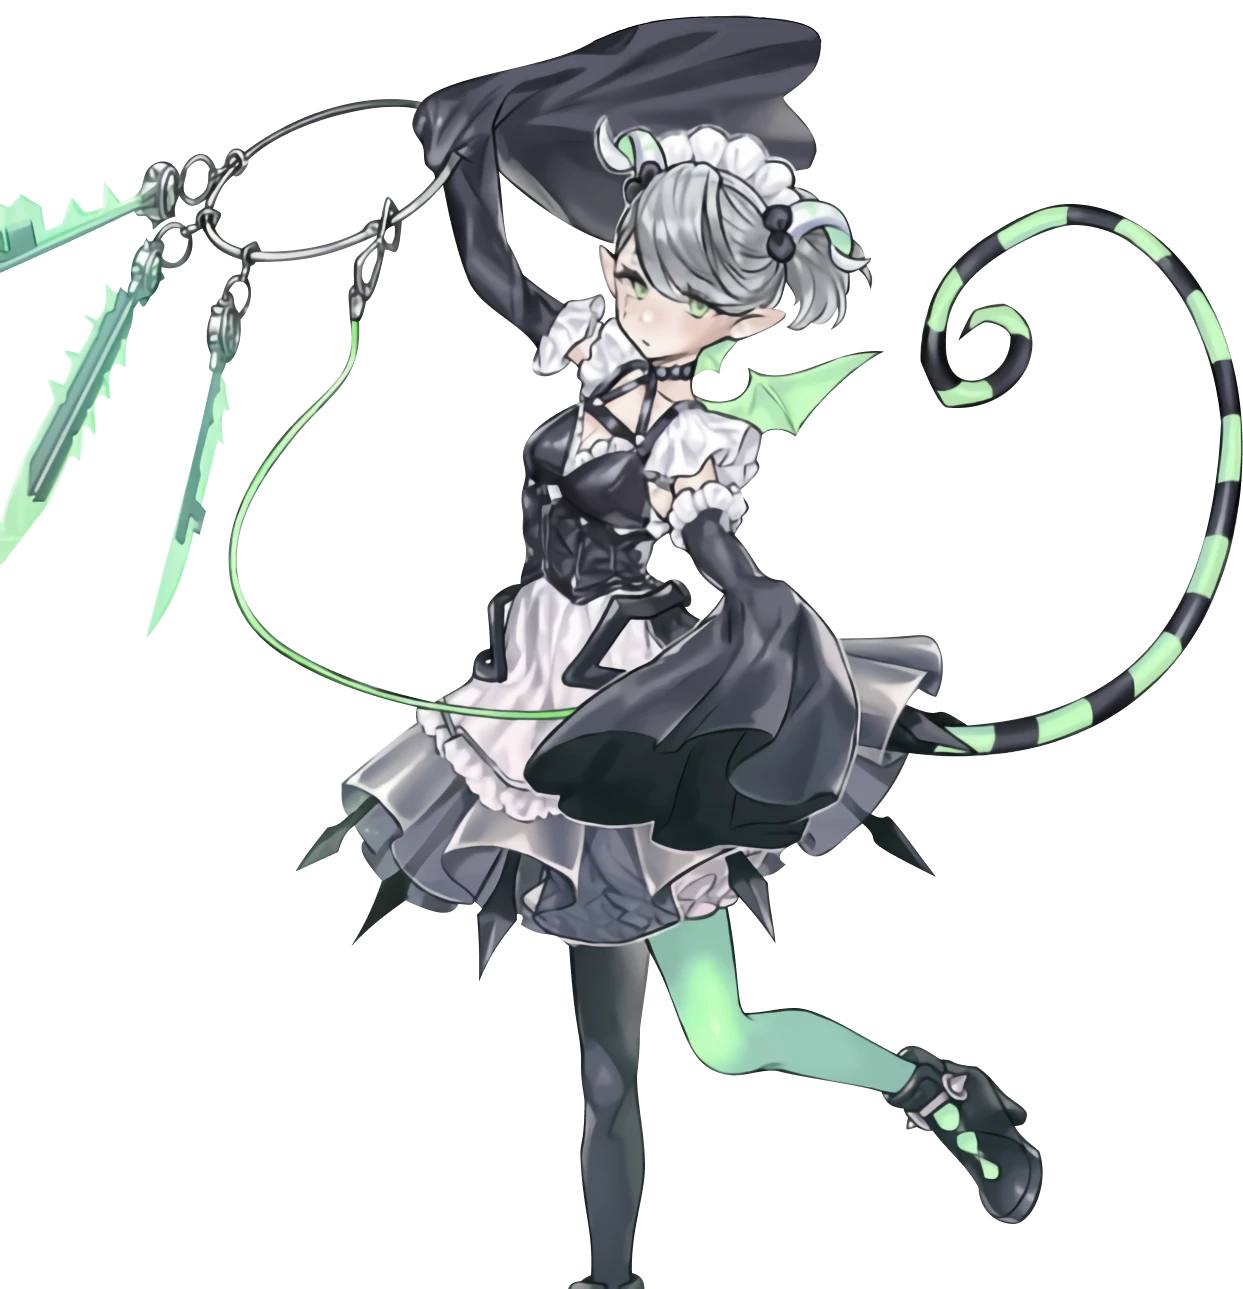
Unchained Engine
Engine Overview
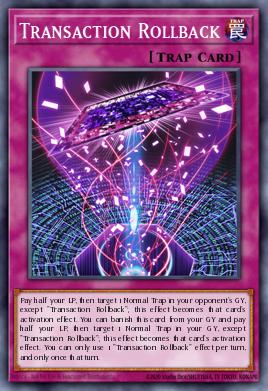
The unchained engine is an incredibly small engine that gives Labrynth the ability to convert any extra bodies into powerful extra deck monsters for a higher ceiling endboard, pop your own backrow to get e.g. Transaction Rollback into your GY, better board breaking capabilities or a plan B in case your primary plays get negated.
There are multiple versions of the engine:
- Full: The version that does it all, bonus interactions, plan B as well going 2nd. Combining the best of all worlds, in exchange for playing the most bricks of all versions.
- Going 2nd: A small version skipping the trap, focused on using Unchained Soul of Anguish as a board breaker going 2nd.
- Extra Deck only: the smallest possible engine, which many Labrynth decks decide to dedicate ED slots for, as the Unchained link monster are amazing for when you end up with too many bodies or want to break the board.
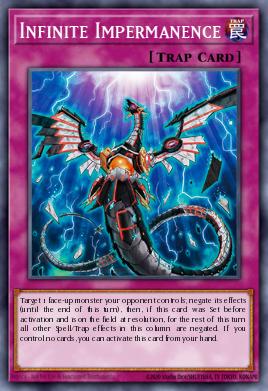
Do note that you never want to draw Escape of the Unchained, while drawing Unchained Soul of Sharvara is okay, as he can be used for dodging Infinite Impermanence and similar targeting effects, get an early pop of your own card, an extra body for ED plays, or be used as furniture discard material as Unchained Soul Lord of Yama can add him back later in the combo.
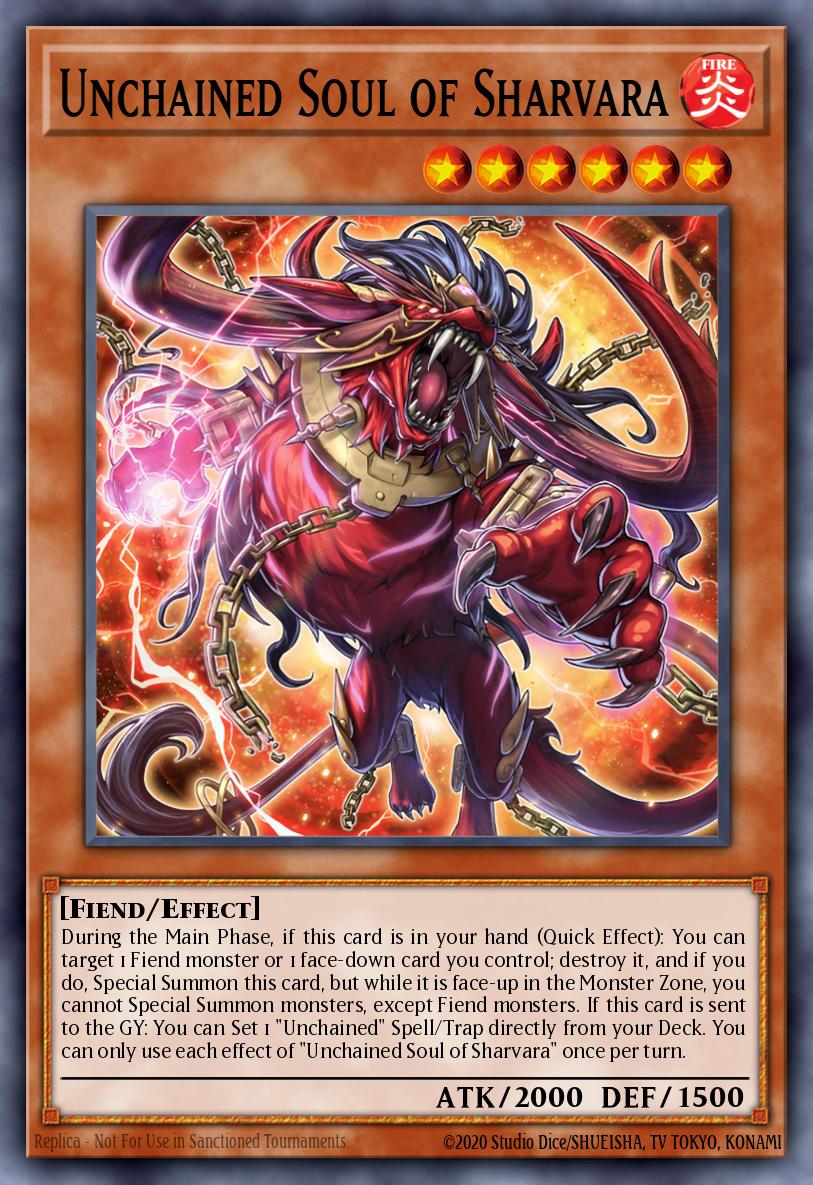
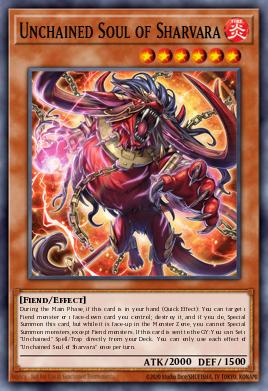
During the Main Phase, if this card is in your hand (Quick Effect): You can target 1 Fiend monster or 1 face-down card you control; destroy it, and if you do, Special Summon this card, but while it is face-up in the Monster Zone, you cannot Special Summon monsters, except Fiend monsters. If this card is sent to the GY: You can Set 1 "Unchained" Spell/Trap directly from your Deck. You can only use each effect of "Unchained Soul of Sharvara" once per turn.
The card you are getting from Yama, Sharvara gives you a way to easily get an extra body on board, potentially dodge targeted interactions and gets you a free Unchained trap when it is sent to the GY.
- The (1) effect allows you to, during the Main Phase as a Quick effect, target a set card or a Fiend monster you control, destroy it and if you do summon this card allowing. This allows you to get an easy extra body on board by popping a trap or to dodge targeting effects. Sharvara only needs to target a set card, it does not need to be set during Sharvara resolve. So if you chain the trap Sharvara can still summon itself.
- The (2) effect allows you to set a Unchained trap when Sharvara is sent to the GY, giving you access to a free trap and since it only needs to be sent to the GY you can potentially use the furnitures’ effect and to trigger this.

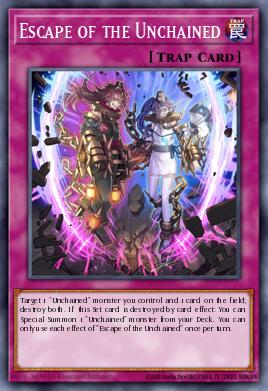
Target 1 "Unchained" monster you control and 1 card on the field; destroy both. If this Set card is destroyed by card effect: You can Special Summon 1 "Unchained" monster from your Deck. You can only use each effect of "Escape of the Unchained" once per turn.
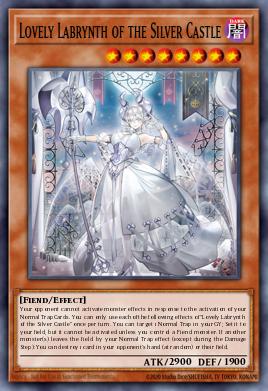
The brick of the engine (even bigger than Lovely), Escape (commonly referred to as “the common” as its the only non-foil card in max Rarity Labrynth decks) is a nice free trap you have access to through Sharvara, which is able to trigger your Labrynth and Unchained effects while also being a decent removal trap.
- The (1) effect allows you to target 1 Unchained monster you control and 1 other card on the field and destroy them. Do note that it needs both targets to be on the field to pop, so if one of them leaves the field the effect resolves without doing anything.
- It is important to realise that this will ALWAYS trigger the Labrynth resource loop, as no matter what you targeted on your opponents side, a monster will always be destroyed (your own Unchained)
- The (2) effect summons an Unchained monster from deck if this set card is destroyed. The engine only plays 1 Unchained monster with no easy way to destroy this card outside of Labrynth Labyrinth, so this effect never comes up.
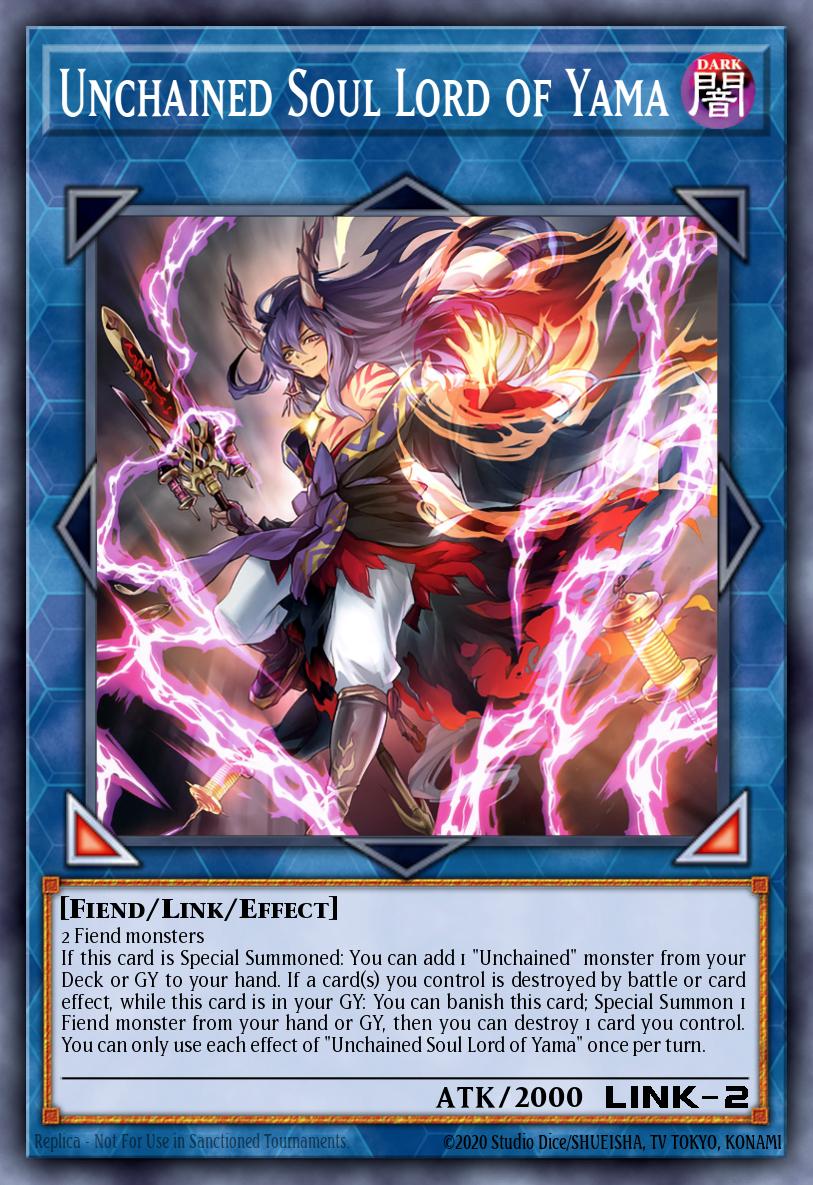
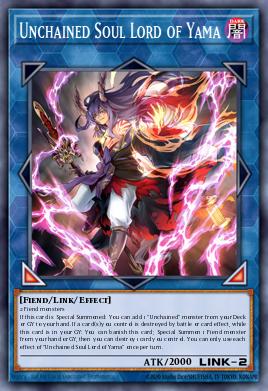
2 Fiend monsters
If this card is Special Summoned: You can add 1 "Unchained" monster from your Deck or GY to your hand. If a card(s) you control is destroyed by battle or card effect, while this card is in your GY: You can banish this card; Special Summon 1 Fiend monster from your hand or GY, then you can destroy 1 card you control. You can only use each effect of "Unchained Soul Lord of Yama" once per turn.
The primary way to get into the Unchained engine while also offering nice GY recursion by allowing you to summon a fiend from GY or hand if a card is destroyed.
- The (1) effect adds an Unchained monster on special summon from deck or GY to your hand. This is usually grabbing Unchained Soul of Sharvara as part of the combo, however in a grind game you may also use this effect to recycle an already used Unchained ED monster.
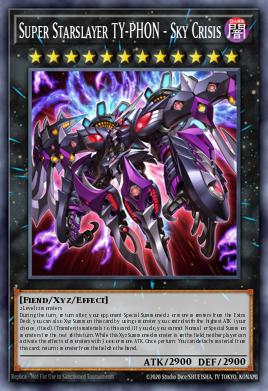
- The (2) effect allows you to special summon a Fiend monster from your Hand or GY, by banishing Yama from the GY as cost (if he was already in the GY when the destruction happened), and afterwards you can destroy one card you control. While this is integral for the Unchained combo during the opponents turn, it is also nice followup. For example if you have 2 kinda useless Fiends on your side and want to make Ty-Phon, its often worth it to link them into Yama first to have him in rotation for his GY effect. Also do not underestimate the second part of his effect, the special summon of course is the primary focus, but sometimes the effect to destroy one card you control is important. If you e.g. set a Rollback before using his effect you can use this to get said Rollback into the GY. Also, if he summons back Unchained Abomniation if you destroy a card you control with this effect Abomniations trigger condition will be met.
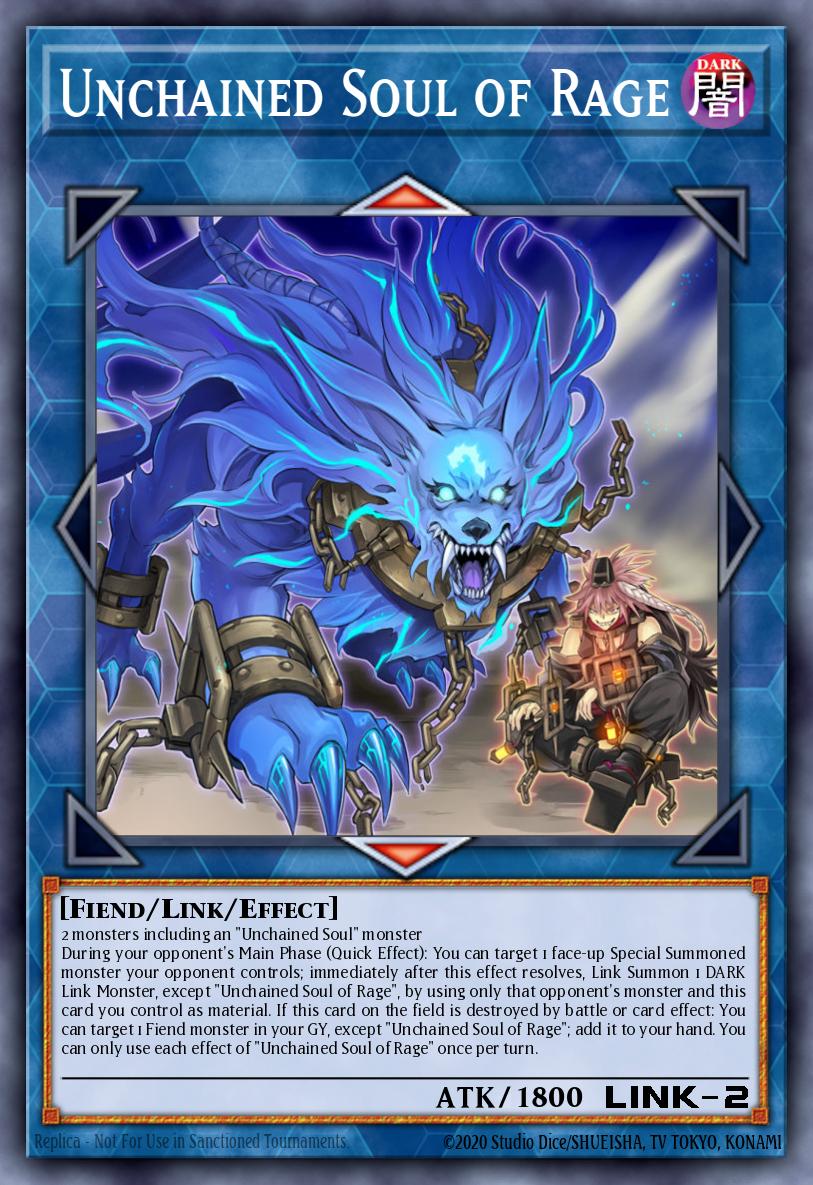
2 monsters including an "Unchained Soul" monster
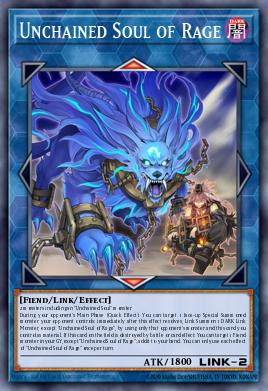
During your opponent's Main Phase (Quick Effect): You can target 1 face-up Special Summoned monster your opponent controls; immediately after this effect resolves, Link Summon 1 DARK Link Monster, except "Unchained Soul of Rage", by using only that opponent's monster and this card you control as material. If this card on the field is destroyed by battle or card effect: You can target 1 Fiend monster in your GY, except "Unchained Soul of Rage"; add it to your hand. You can only use each effect of "Unchained Soul of Rage" once per turn.
One of the main ways the Unchained engine interacts with your opponent on their turn and the main endboard piece you want to end on.
- The (1) effect allows you to target a special summoned monster your opponent controls (during their Main Phase as a Quick-Effect), and use it together with Rage to perform a Link Summon of a DARK monster. Do note that if Rage is removed before the effect resolves you won’t be able to link off the opponent’s monster. The target you go into depends a lot on the situation, and on if you are Fiend locked.
- The (2) effect allows you to add back to hand a fiend monster that is in your GY when Rage is destroyed, giving you some nice recursion.

2+ monsters including an "Unchained Soul" monster
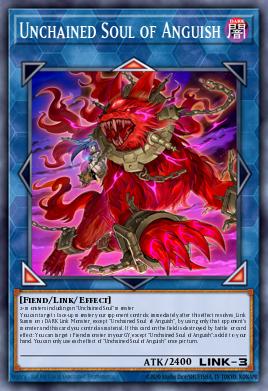
You can target 1 face-up monster your opponent controls; immediately after this effect resolves, Link Summon 1 DARK Link Monster, except "Unchained Soul of Anguish", by using only that opponent's monster and this card you control as material. If this card on the field is destroyed by battle or card effect: You can target 1 Fiend monster in your GY, except "Unchained Soul of Anguish"; add it to your hand. You can only use each effect of "Unchained Soul of Anguish" once per turn.
This card works similar to Rage, but is for your turn rather than the opponents. Therefore it’s mostly used as a way to easily break boards going second or to clean up on turn 3.
- The (1) effect mostly works the same way as Rage, with the differences being that:
- It can use any Monster, not just special summoned ones
- It is an Ignition Effect rather than a Quick-Effect
- The (2) effect is the exact same one as Rage
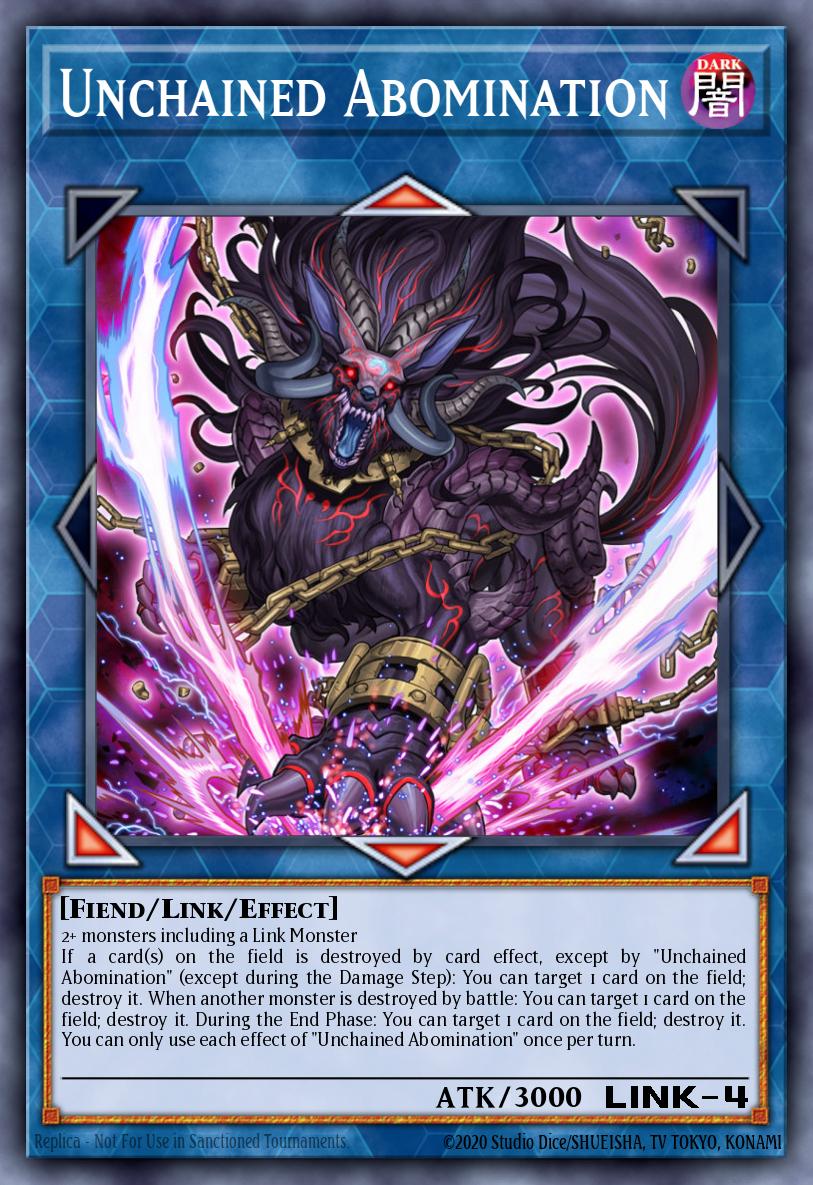
2+ monsters including a Link Monster
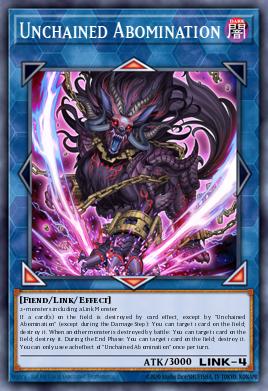
If a card(s) on the field is destroyed by card effect, except by "Unchained Abomination" (except during the Damage Step): You can target 1 card on the field; destroy it. When another monster is destroyed by battle: You can target 1 card on the field; destroy it. During the End Phase: You can target 1 card on the field; destroy it. You can only use each effect of "Unchained Abomination" once per turn.
A powerhouse of a monster allowing you to easily clean up boards and also giving up to 3 pops that can be triggered on both players turns. It can also be used for some nasty plays, where you pop one of your own cards to trigger a Yama that is in your GY, either to get something into rotation, or get another body to go for lethal.
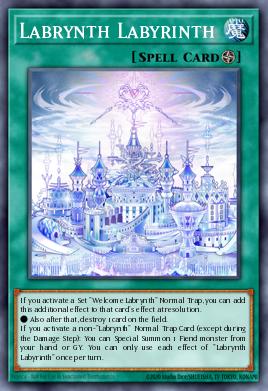
- The (1) effect allows you, when a card is destroyed on the field by card effects, except this cards, to target a card on the field and pop it. This can be easily triggered by using Lovely’s effect or if Labrynth Labyrinth is up and you used a Welcome trap to pop a card. Another important way to trigger this is using Yama revival effect to pop a card after summoning this.
- The (2) effect allows you, when a card is destroyed by battle, to target a card on the field and pop it. This can also trigger if your opponent destroyed one of your monsters by battle, not only when you do.
- The (3) effect allows you, during the End Phase, to target a card on the field and pop it.
Full Engine
Going 2nd
The engine can also be used as a way to break a board in case you are going second by siding in Unchained Soul of Sharvara. You can use Unchained Soul of Anguish to go into powerful Link 4s, usually Unchained Abomination or occasionally (if you do play him), either by using 2 bodies + 1 set card, or by using 3 bodies directly.
Extra Deck only
Labrynth often has to play under a Fiend lock due to Welcome Labrynth, which is why many people like to run the Unchained ED monsters even if they do not play the main deck cards, if they can afford the space. You can still simply go into these with 3 bodies, either trying to break a board via Unchained Soul of Anguish or add an additional interaction to your end board via Unchained Soul of Rage, with Unchained Soul Lord of Yama being in your GY as powerful follow-up.
Optional Cards you can play
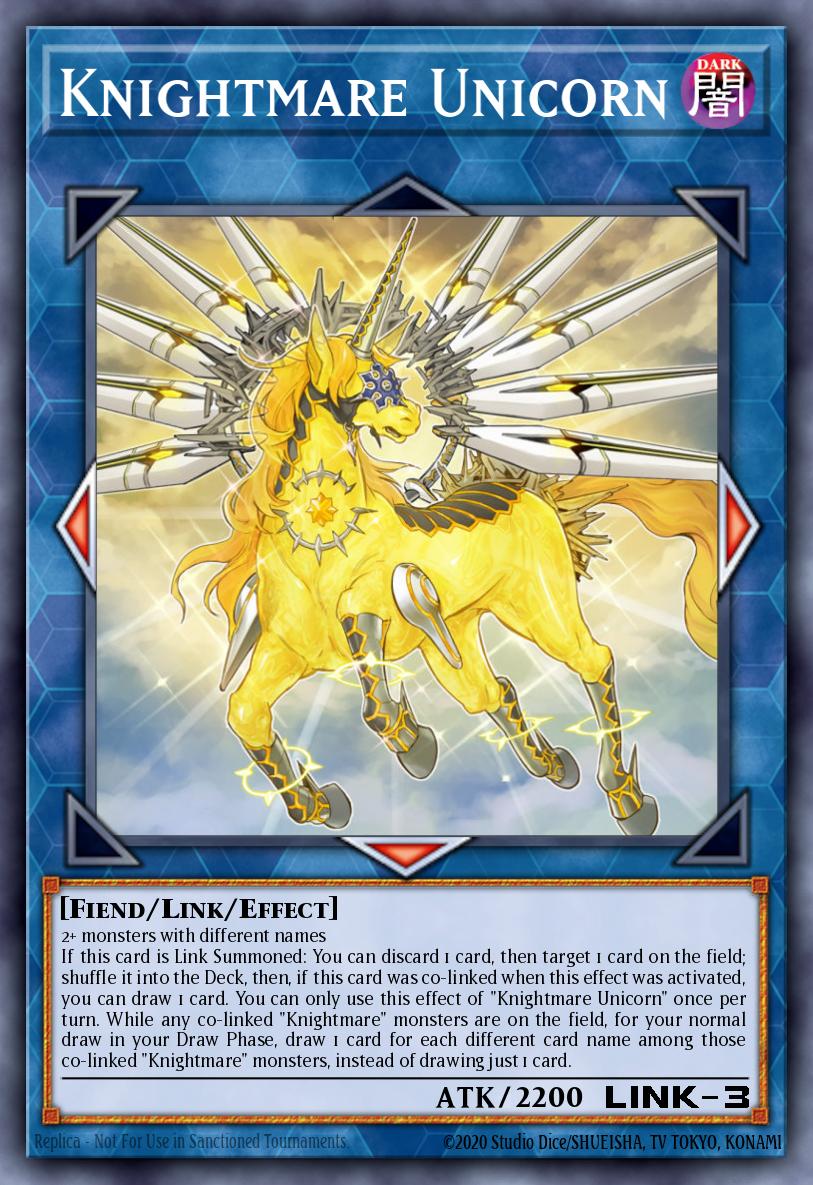
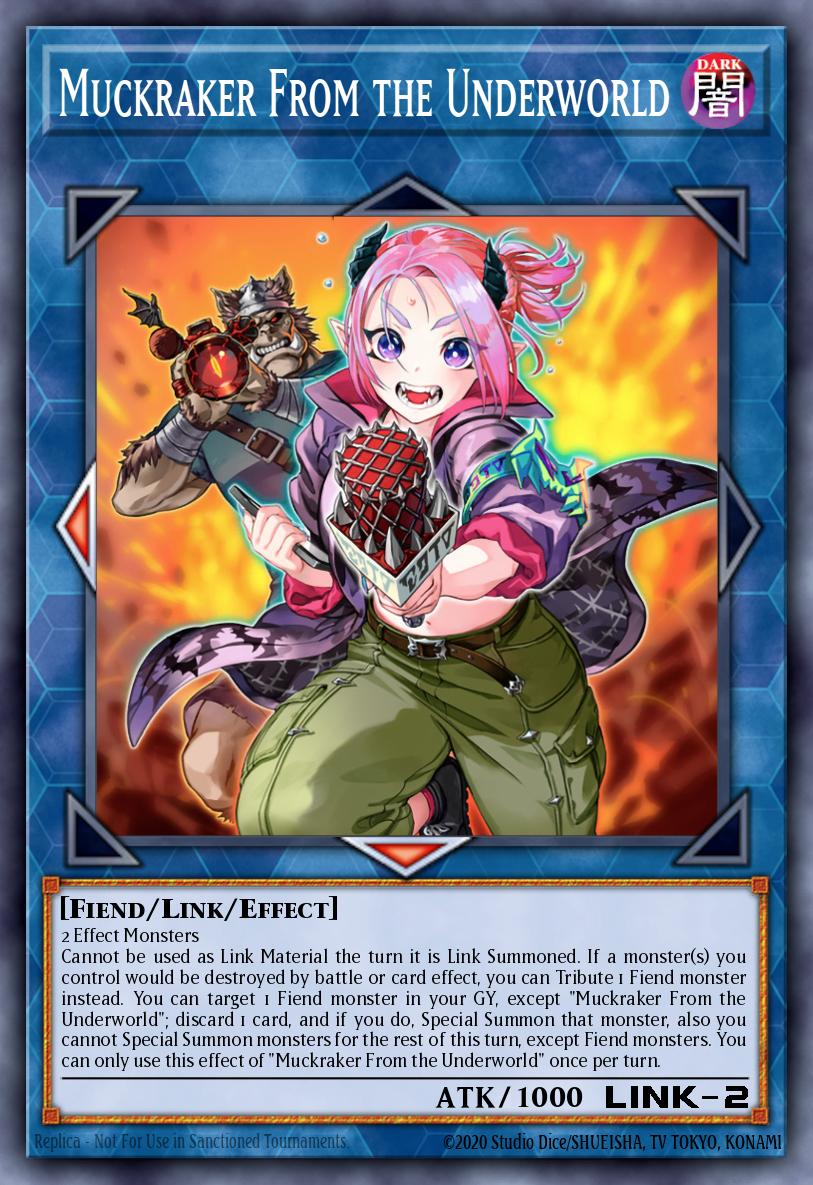
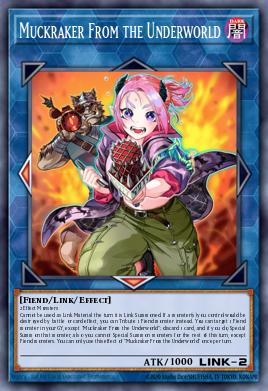
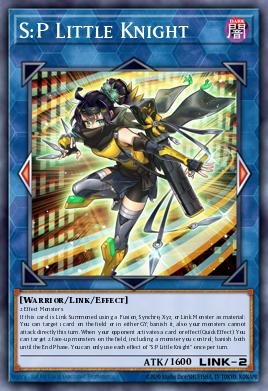
All of these are cards that you can play, but do not have to for the most part. S:P Little Knight and Muckraker From the Underworld are highly recommended and basically mandatory for every version, but you can play without if you have to. It is important that you play at least 1 of the fully generic Fiend Links listed here, as else you may not have a target for Unchained Soul of Rage. The generic targets for this are Knightmare Unicorn and Muckraker From the Underworld.
Labrynth Syngergies
Besides giving you a Plan B, there are many ways that Labrynth synergizes with the Unchained Engine:
- The Unchained Combo gives you easy access to a powerful removal trap.
- Unchained Soul Lord of Yama floats into ANY fiend from your Hand or GY. This is yet another way for us to get e.g. an Arianna the Labrynth Servant search during the opponent’s turn.
- The float effect of Unchained Soul Lord of Yama does not just bring a Fiend onto your board, but also allows you to optionally destroy a card you control, which can be used to e.g. destroy a Transaction Rollback you set before.
- All Unchained monsters are Fiends, therefore not conflicting with the Fiend lock of Welcome Labrynth
Engine Pros and Cons
Pros
- Small Main Deck engine (2 cards), no garnets, only bricks
- Powerful Plan B for when you get interrupted, or giving you a usage for 2 otherwise useless bodies
- Layered Board Interaction, making your board even more complex for the opponent to dismantle, while also allowing for some downright insane plays in your own turn.
- Access to a powerful removal trap.
- Boardbreaking capabilities, Unchained Abomination can wreck boards on its own going 2nd.
- Easy way to get Transaction Rollback into the GY as you can destroy it with Unchained Soul of Sharvara after setting it, due to either hard drawing it, or setting it with Lady Labrynth of the Silver Castle or Labrynth Set-Up.
- Unchained Soul of Rage into S:P Little Knight (when you aren’t Fiend locked) is an insanely aggressive interaction, putting lots of pressure onto your opponent
Cons
- While its “only” 2 bricks, thats another 2 for a deck that already plays at least a dozen cards that do nothing on their own, making it more likely to brick, especially on Escape of the Unchained.
- Increased weakness to Bystials - while Bystials already are strong against Labrynth, a Bystial banishing Unchained Soul Lord of Yama can ruin your day, not to mention Bystial Druiswurm trading very well with Unchaineds.
- Increased weakness to handtraps that normally do not matter, e.g.:
- Droll & Lock Bird: Getting drolled after searching with Arianna the Labrynth Servant will prevent you from searching with Unchained Soul Lord of Yama, denying you access to Escape of the Unchained and making it harder to get the 2nd body on board required to link into Unchained Soul of Rage
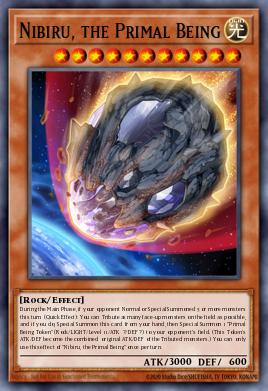
- Nibiru, the Primal Being: We normally do not care about the space rock at all, however when doing the Unchained combos you have no way but to play into it. This makes it risky to go into these combos during game 1, however during game 2 and 3 its usually safe to do as most people should be siding out Nibiru, the Primal Being against Labrynth.
Combos
Base Combo
This is the basic combo, which can be done with either 3 Fiends or 2 Fiends + 1 set Card.
- Link two Fiend into Yama, and use his effect to search Sharvara from either the Deck or GY
- Use the effect of sharvara, either popping a set card or a 3rd fiend
- Link Yama and Sharvara into either Rage or Anguish, depending on what you plan to achieve, which usually comes down to if you are going 1st or 2nd
- Use the effect of Sharvara to set Escape from the Deck
You now have Escape set, with either an interaction or for the opponent’s turn (Rage) or a board breaker (anguish). If you went for anguish you would use him to go into a Link of your choice, this usually being Abomination to further break the board. As for how to use Rage, please check the next combo.
If you went for Rage you get to link off an opponent’s monster during their turn. Usually you try to use Escape before doing so, as then Yama can bring back the Rage. If you do have to use the Rage effect first you are often forced to go into Anguish, as otherwise the Escape and Yama would be dead.
If you do get to use the trap first, this is how it goes:
- Use escape to pop Rage and an Opponent’s card
- Trigger all your effects: As chain link 1 (in order to play around Ghost Belle) you use Yama to summon a Fiend from Hand or GY (which will be Rage), and as chain link 2 Rage to target a fiend and add it back to your hand, and any potential Labrynth effects you might have, as even if you pop an opponent’s S/T your Rage got removed from the field
- Yama revives the Rage, allowing you to use it’s interaction still. If you are not Fiend locked you will go into S:P usually, however if you are locked you can go into Anguish if you haven’t used it yet or Muckraker.
Now that you know the basic way that the Unchained combo works, the question is “How do you get to it?”. There are certain hands that naturally flow into it without really giving up anything, while more often it is reserved as a Plan B for when you get interrupted. It can also be worth to go into if you have your GY fully stacked with all the follow-up you could ever wish for. It takes some training to get used to evaluating when its worth to go into the Unchained lines, just be aware that especially in Game 1 of a match its dangerous, as your opponent might be main decking Nibiru, the Primal Being. This is usually sided out against Labrynth for Games 2 and 3. There are too many board states that lead to these combos in order to list them all, but following are 2 examples of pretty standard combos that can lead you there.
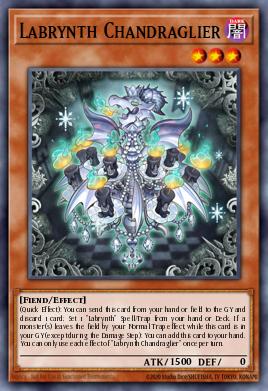
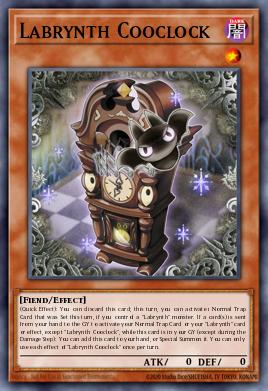
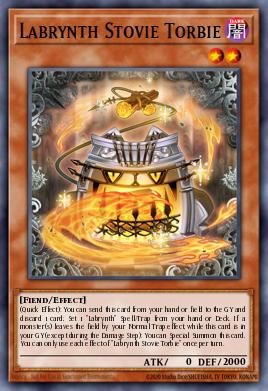
This combo starts with Arianna and either Stovie or Cooclock (please see note at the bottom of this replay regarding Chadraglier).
- Normal Summon Arianna and use her effect to search the missing furniture
- Do the normal Turn 0 Furniture combo
- After you are done with the Turn 0 Combo link Arianna and Stovie into Yama
- Use Yama to search Sharvara
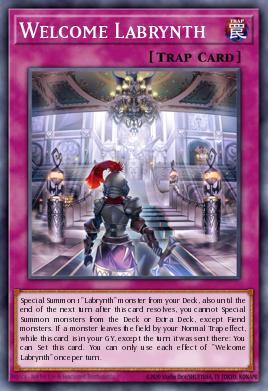
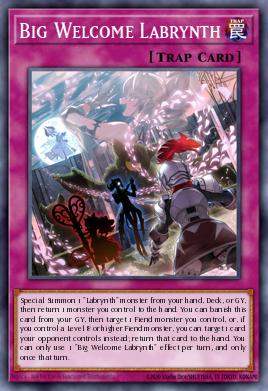
- Use Lovely to set Big Welcome from the GY
- Use Sharvara to pop the Big Welcome you just set. You can also preserve this Big Welcome if you wish to by setting another card from your hand and popping that instead.
- Link Yama and Sharvara into Rage, use Sharvara to set Escape
This is the standard line that might seem bad at first glance, until you realise it’s both incredibly sticky and has multiple interactions, while also giving you incredible follow-up:
- Lovely for both her protection and her pop
- Big Welcome to bounce, as you control a LV 8+ Fiend (Lovely)
- Cooclock and Stovie in your GY as follow-up (which you could use during the opponent’s turn to get a Welcome going), with Arianna as a great target for Rage’s recycle effect.
Starting with Chandraglier: Starting with him does work, however you will be missing Stovie as a material for your Link summon. You will be forced to link off Lovely here if you wish to go into this combo, which will turn off all benefits related to her obviously.
This combo starts just like the previous one, with the difference that Big Welcome will get negated here.
- Normal Summon Arianna and use her effect to search the missing furniture
- Use Clock, use Stovie setting Big Welcome and Special Summon Clock back to the field
Now you would normally go for the Lovely handrip, however Big Welcome will be negated by our opponent here. If you have any card you can set in your hand you can still reach the Unchained combo.
- Link Cooclock and Arianna into Yama, search Sharvara
- Set the card from your hand, and pop it with Sharvara
- From here you just link into Rage and get Escape
This line demonstrates one of the main reasons for playing the Unchained package, that being the ability to turn your useless bodies into a powerful endboard after getting interrupted. This is an excellent Plan B, compared to otherwise passing on basically nothing.
Example Decklists
Basic Deck Skeleton
This is the list of cards that you pretty much have to play (for the full version), playing less than these is not recommended.
Ratio Considerations specific to Unchained Labrynth
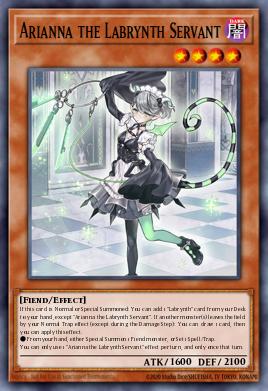
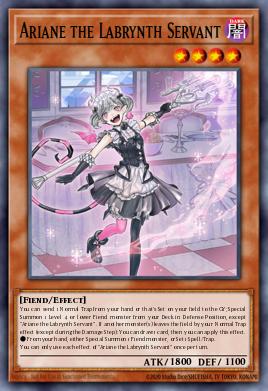
- Ariane the Labrynth Servant: She enables some crazy plays that you can do with her, but once again, this adds another semi-brick to your deck. In addition, you can not just learn combos for her really, she just comes up in the weirdest of lines and makes going for OTKs really easy.
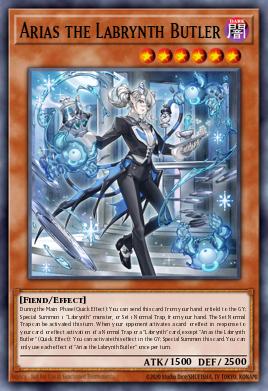
- Arias the Labrynth Butler: How many copies one wishes to play of her is a big debate in general, however her effect to summon herself is immensely helpful, as it very often will allow you to go into the Unchained lines as a Plan B.
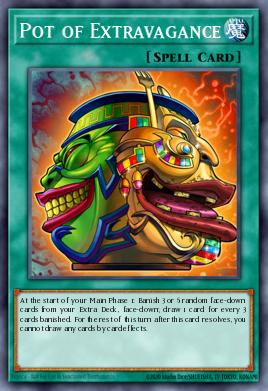
- Pots: You can play either Pot of Prosperity or Pot of Extravagance (or even no pots at all!), just be aware that playing Pot of Extravagance will mean you need to dedicate a lot of ED space to this engine, making the ED even tighter than it already is.
- Transaction Rollback: It is recommended to play at least 1 copy of this, as it works very well with the Unchained cards, however it is not necessary and if you do not play the full engine you may want to forgo this one.
- Removal Traps: Some people play this version of Labrynth with just the Labrynth traps, Escape of the Unchained, 3 Infinite Impermanence and 1 or 2 traps of choice, while others will play this with a big trap line-up. This really just is preference and neither is a clear better option.
- Hand Traps: This is the main thing influencing how many slots you have leftover for other ratio considerations. Unchained Labrynth can play anything from 3 handtraps to 9 without an issue. The example lists below are aimed at fitting 9, however this can be changed as one sees fit.

